Weekend Woodshop Plans
How to Build a Simple 2x4 Outdoor Bench (Beginner Weekend Plan)
Disclosure: This article contains affiliate links. If you buy through them, I may earn a commission at no extra cost to you. The plan below is free and complete on its own. Learn more.
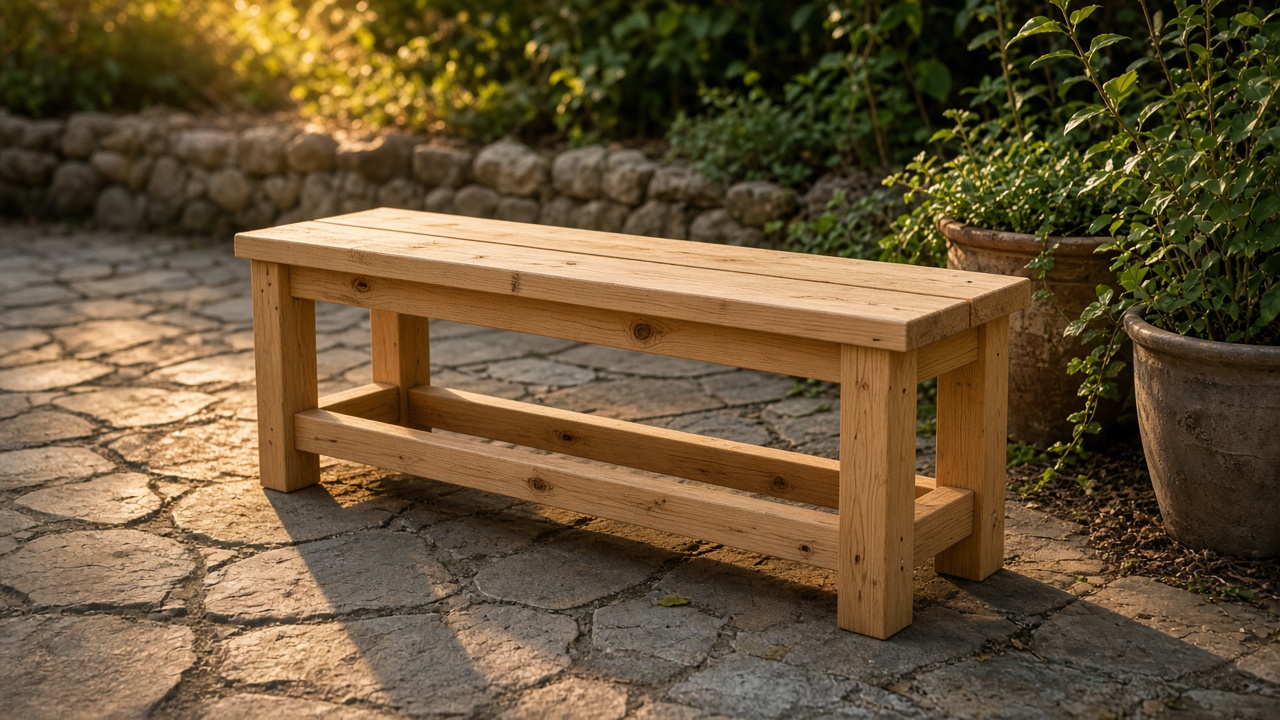
A sturdy bench is one of the best first outdoor projects: it uses cheap, easy-to-find 2x4 lumber, needs only basic tools, and you get to sit on the result the same evening. This plan makes a backless bench about 46 inches long, 11 inches deep, and 18 inches high — comfortable for two adults, and just as good as a plant stand, boot bench, or patio side seat.
Project overview
The design is two identical leg frames (each made from two legs and two short rails), joined by a center stretcher near the floor, with three seat boards screwed on top. There are no angled cuts and no special joinery — every cut is a straight 90° crosscut. If you can measure, mark a square line, and drive a screw, you can build this.
A quick note on dimensions: a "2x4" actually measures about 1-1/2" × 3-1/2". All the numbers below use those real dimensions. Lumber varies a little, so treat measurements as targets and check your own boards as you go.
Tools & materials
Tools
- Tape measure, carpenter pencil, and a speed square
- Circular saw, miter saw, or a sharp handsaw with a simple guide block
- Drill/driver plus a countersink bit (or a combination pilot/countersink bit)
- Two clamps (bar clamps or quick-grip clamps, 12" or longer)
- Sander or sanding block with 80, 120 and 180 grit paper
- Safety glasses and hearing protection; a dust mask for sanding
Materials
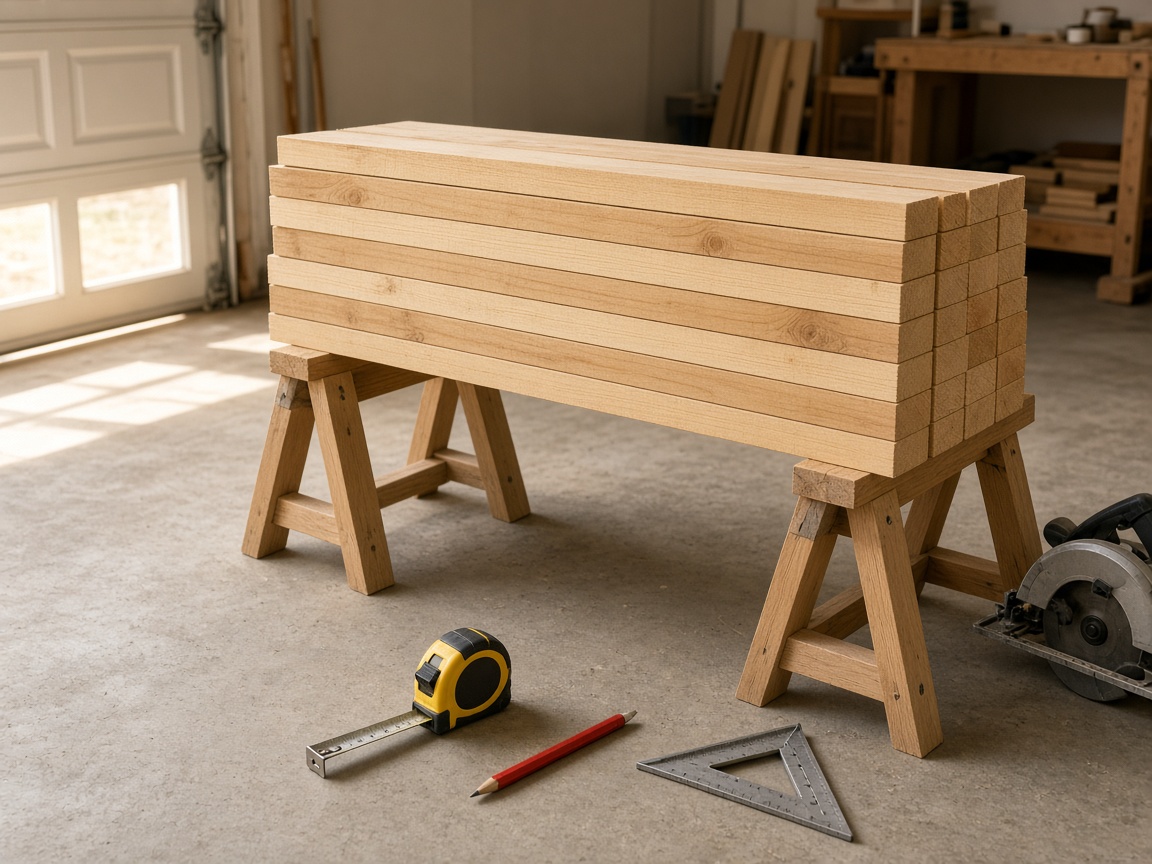
- 4 × 2x4 boards, 8 ft long — choose straight boards with few large knots. Cedar or pressure-treated lumber lasts longest outdoors; kiln-dried pine works if you finish it well and keep it off wet ground.
- About 50 exterior-rated screws, 2-1/2" long (coated deck screws or stainless)
- Exterior wood glue (optional, but it makes the frames noticeably stiffer)
- Exterior stain, oil, or paint — plus a brush and a rag
- Four plastic or rubber furniture feet (optional, helps on patios and decks)
Budget tip: Four 2x4s, a box of deck screws and a small can of stain make this one of the cheapest furniture projects you can build. Cedar costs more than pine but needs less maintenance. Prices vary by region and season, so check your local store before you go.
Cut list
| Part | Qty | Length | Notes |
|---|---|---|---|
| Seat boards | 3 | 46" | Pick your best-looking boards |
| Legs | 4 | 16-1/2" | Seat height ends up ~18" |
| Top rails | 2 | 11" | Support the seat boards |
| Bottom rails | 2 | 11" | About 4" above the floor |
| Center stretcher | 1 | ~32" | Measure and cut to fit after the frames are built |
Board layout: Board 1 → two seat boards. Board 2 → one seat board and two legs. Board 3 → two legs and all four 11" rails. Board 4 → the stretcher, with plenty left over for test cuts and mistakes (keep the offcut — it becomes your next project).
Cut all matching parts at the same time. A simple trick: clamp a scrap "stop block" to your saw table or workbench so all four legs come out exactly the same length. Matching legs matter more than hitting 16-1/2" exactly — four identical legs give you a bench that does not rock.
Step-by-step build
Step 1 — Sand before you assemble
Knock off the sharp factory edges and any rough patches with 80 grit, then smooth with 120. It is far easier to sand loose parts on a bench than a finished project with corners. Pay extra attention to the seat boards: round over the long top edges slightly so they are comfortable on the back of your legs.
Step 2 — Build the two leg frames
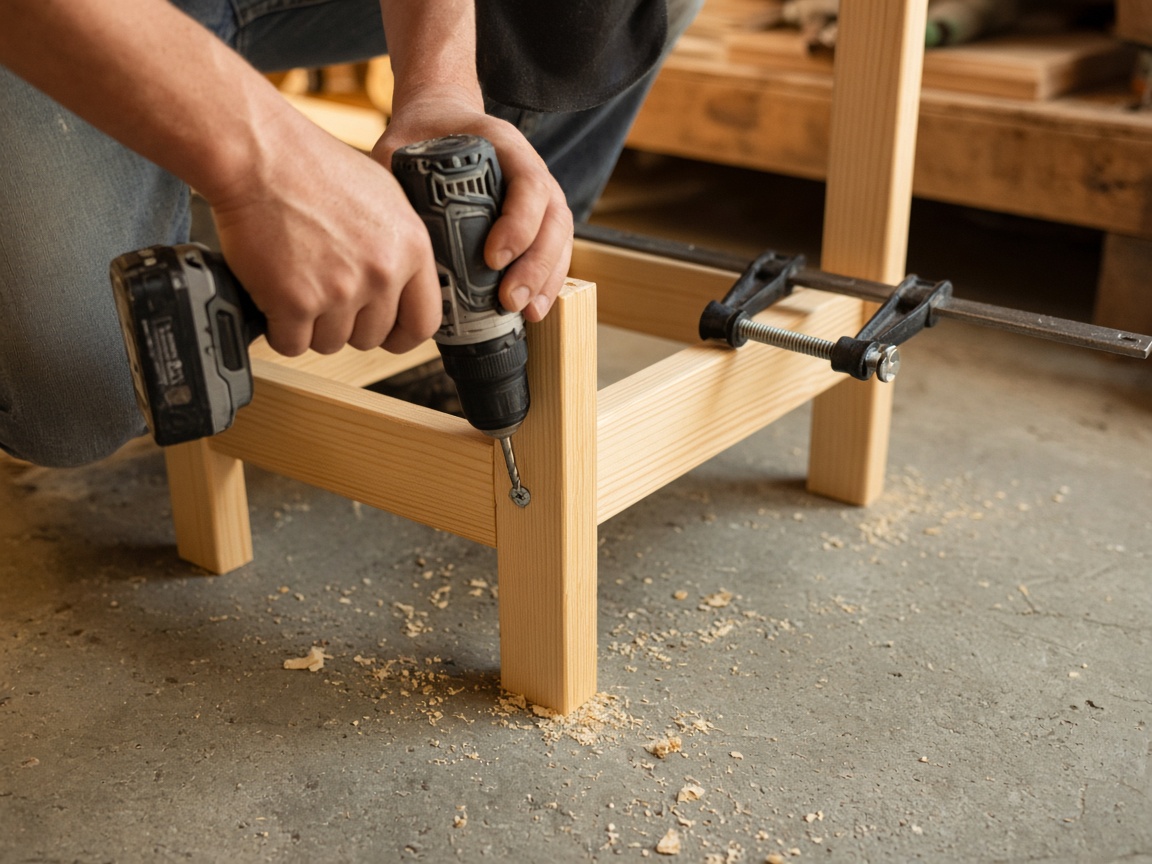
Lay two legs on a flat surface, parallel, with their 3-1/2" faces up. Place a top rail across them so it is flush with the top ends of the legs and flush with the outside edges — the frame should measure 11" wide. Add a line of glue, clamp, and drive two pilot-drilled screws through the rail into each leg.
Next, mark a line 4" up from the bottom of each leg. Attach a bottom rail on that line the same way. Before the glue sets, check the frame with your speed square; nudge it until the legs are square to the rails. Repeat for the second frame. Make sure both frames are mirror-identical, with the rails on the same side.
Step 3 — Connect the frames with the stretcher
Stand both frames up with the rails facing each other, about 4" in from where the ends of the seat will be. Measure between the inside faces of the two bottom rails — for this layout it is about 32". Cut the stretcher to that exact measurement, set it flat or on edge between the bottom rails, and screw through each rail into the stretcher ends with two screws per side. On edge is stiffer; flat is easier to drive screws into. Either works.
Step 4 — Attach the seat boards
Set the three seat boards across the top rails with about a 1/4" gap between them (two carpenter pencils or a couple of 1/4" scraps make perfect spacers). Let the seat overhang the frames by about 4" at each end, and keep the outer boards flush with the outside of the legs. Pre-drill and countersink two screws per board at each top rail, keeping screws about 1" from the board edges.
The small gaps are not just for looks: they let rainwater drain off and allow the wood to swell and shrink without cupping.
Step 5 — Check, flip, and fine-tune
Put the bench on a flat floor and press on each corner. If it rocks, mark the long leg and sand or trim a tiny amount off its bottom. Add furniture feet if it will live on a deck or patio — they also keep the end grain of the legs out of standing water, which is where outdoor benches usually rot first.
Finishing for outdoor use
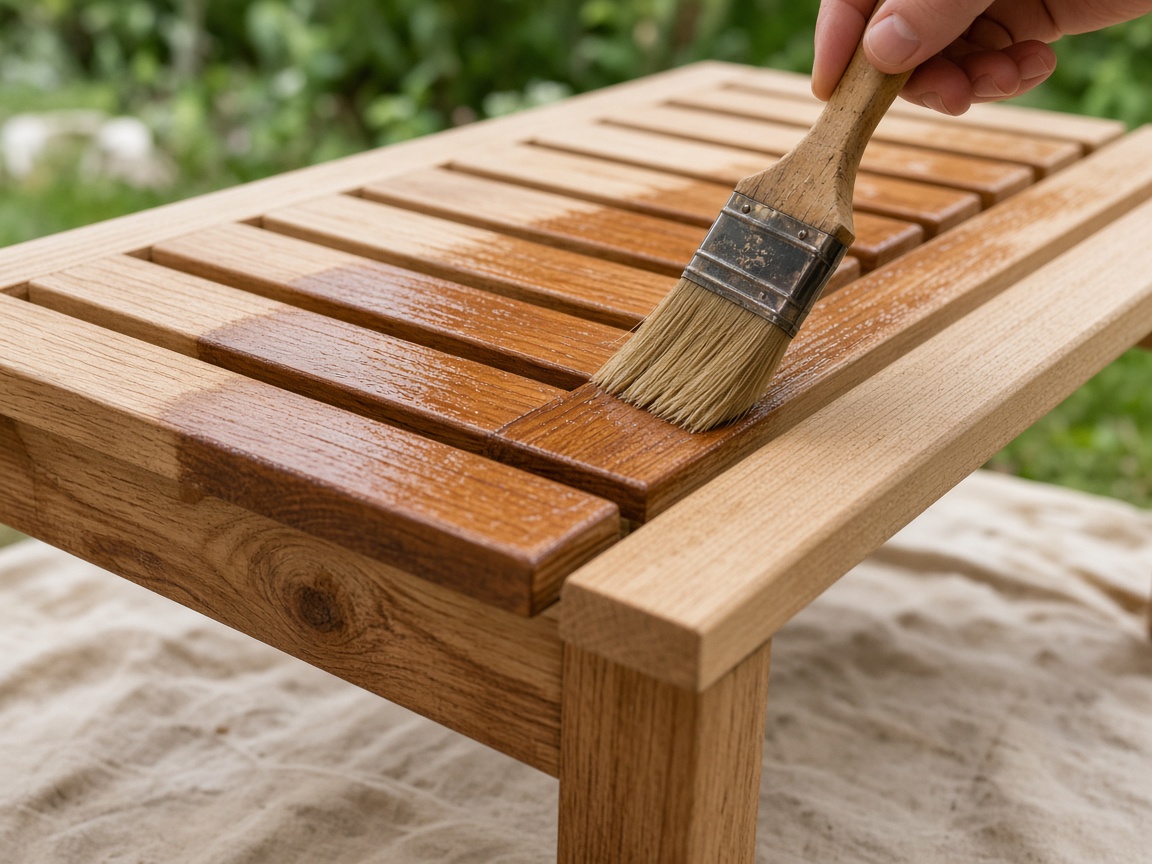
Finish matters more than joinery for an outdoor bench. Give the whole piece a final pass with 180 grit, vacuum or wipe off the dust, then choose a finish:
- Penetrating exterior stain or oil: easiest for beginners, shows the wood grain, and is simple to refresh every year or two.
- Exterior paint: best protection on pine, lots of color options; prime first.
- Pressure-treated lumber: often needs to dry out for a few weeks before it will accept stain or paint — check the tag and the manufacturer's guidance.
Seal the bottoms of the legs (end grain soaks up water like a straw) and do not forget the underside of the seat boards. Follow the drying times on the can before anyone sits on it.
Common beginner mistakes (and easy fixes)
- Legs of different lengths. Use a stop block and cut them together. If one is still long, trim the bottom, not the top.
- Split board ends. Always pre-drill near the ends; drive screws slowly at first.
- Twisted frames. Assemble on the flattest surface you have — a garage floor beats a lumpy lawn.
- Interior screws outdoors. Plain steel screws rust and stain the wood. Use coated deck screws or stainless.
- Skipping the finish on hidden areas. Water gets everywhere; finish every surface.
Easy variations
- Longer bench: stretch it to 60" by lengthening the seat boards and stretcher by the same amount; add a third leg frame in the middle beyond about 60".
- Matching coffee table: same frames, but make the seat from five boards and use 18-1/2" rails.
- Entryway bench: add a lower shelf of two boards resting on the bottom rails for shoes.
Enjoyed this build and want measured drawings for your next projects (tables, chairs, sheds, planters)? Some readers like having a big library of plans to browse instead of designing every piece from scratch.
Browse Ted's Woodworking plans → (affiliate link)
Safety first
Wear safety glasses whenever you cut or drive screws, keep both hands clear of the blade path, and let the saw stop fully before lifting it. Pressure-treated lumber should be cut outdoors or with good ventilation, and sawdust should be cleaned up rather than burned. If a tool is new to you, read its manual first — five minutes of reading beats an emergency-room visit.
Want step-by-step plans for bigger projects?
If this bench felt manageable and you want to keep going, Ted's Woodworking (tedswoodworking.com) markets itself as a large digital archive of woodworking plans.
According to the vendor, it includes over 16,000 plans with step-by-step details and materials lists, plus video lessons, and it advertises a 60-day money-back guarantee processed through ClickBank. Those are the vendor's claims — not independent tests, and not a promise that every plan will suit your skill level or tools.
Pros
- Huge variety if you like browsing project ideas
- Vendor says plans include cut lists and schematics
- 60-day refund window as advertised by the seller
Caveats
- Quality can vary across any large archive
- Order pages may show upsells — you can decline them
- Plans do not replace practice, tools, or shop safety
Affiliate link — I may earn a commission at no extra cost to you.
Disclosure & Privacy
This page contains affiliate links. If you buy through them I may earn a commission at no extra cost to you. Descriptions of Ted's Woodworking repeat claims published on the vendor's own website. SeeDIY (@peretzdigital) is an independent publisher and is not affiliated with the vendor beyond the ClickBank affiliate program. Full details: Affiliate Disclosure, Privacy Policy, Cookie Policy, Terms of Use.
We do not sell your personal information. Hosting, DNS, and security run through Cloudflare Pages and Cloudflare. Questions: peretzdigital@gmail.com