Backyard Builds
How to Plan a Backyard Shed: 9 Steps Before You Buy Lumber
Disclosure: This article contains affiliate links. If you buy through them, I may earn a commission at no extra cost to you. Everything below is free to use. Learn more.
Most shed problems start long before the first nail: a shed that is too small by the second summer, a door that faces the wrong way, a foundation that turns into a puddle, or a letter from the city about a permit. A few hours of planning prevents all of that. Here are the nine decisions to make — in order — before you buy lumber or a kit.
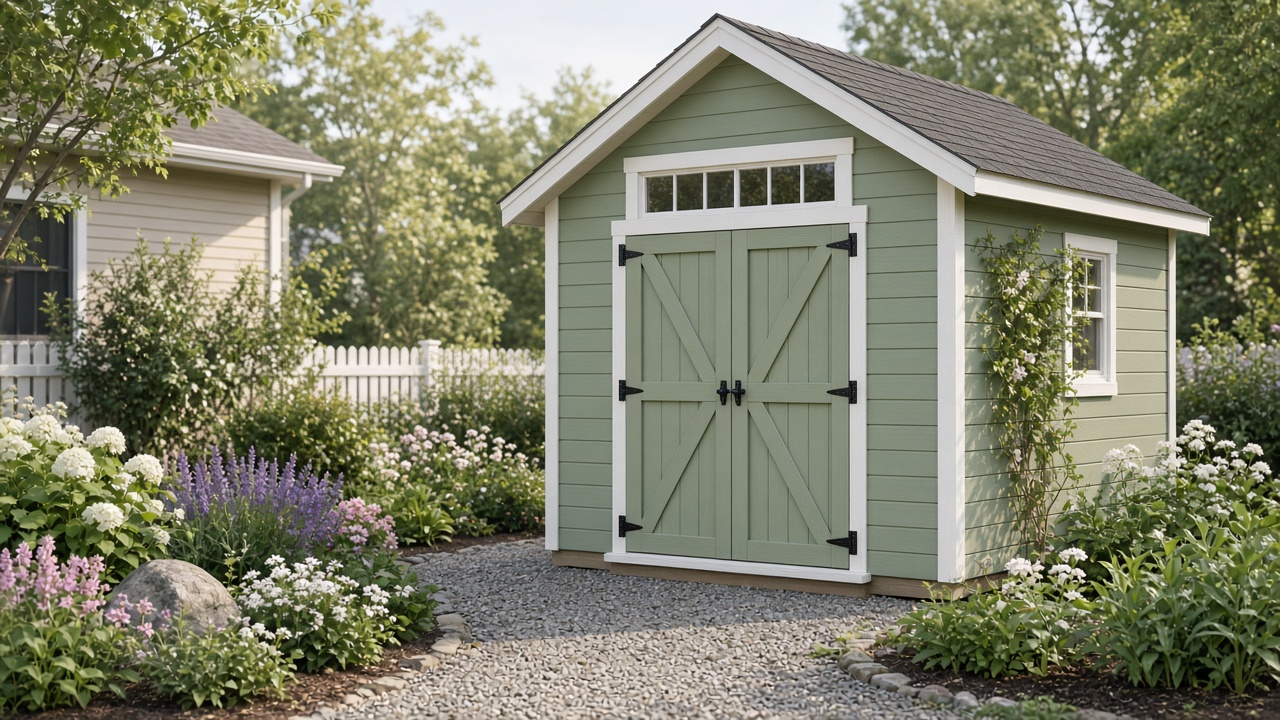
1. Decide what the shed is really for
"Storage" is not specific enough. Write down what will actually live inside, and how you will use it:
- Garden and yard tools: long-handled tools, a mower, bags of soil — you need a wide door and a flat, ramp-friendly entrance.
- Bikes and outdoor gear: wall space for hooks matters more than floor space.
- Workshop or potting shed: you need a window for light, a workbench wall, possibly electricity, and headroom to stand comfortably.
- Seasonal storage: patio cushions, holiday decorations — shelving and dryness are the priorities.
The use decides almost everything else: size, door width, windows, and even the foundation.
2. Choose the right size (then go one size up)
The most common regret among shed owners is building too small. Lay out the footprint on the lawn with stakes and string, then place the actual items you plan to store inside the outline. Leave a walkway at least 2–3 feet wide down the middle.
| Footprint | Typically fits |
|---|---|
| 4×6 / 4×8 ft | Hand tools, a few bags, a trimmer — a "lean-to" against a fence |
| 8×8 ft | Push mower, garden tools, a small shelf wall |
| 8×10 / 8×12 ft | Mower, bikes, tools and shelving — the most popular all-round size |
| 10×12 ft and up | Workshop bench plus storage, riding mower, or a potting area |
Also think about height. Standard 8-foot walls are easy to frame with common lumber lengths, and a loft or high shelves in a gable roof can add a surprising amount of storage.
3. Check permits, setbacks and HOA rules
Rules vary a lot across the US, so this step is a phone call or a visit to your city or county building department's website — not a guess. Ask specifically:
- Is there a size limit under which a shed does not need a building permit? (Many places exempt small accessory buildings, but the threshold and conditions differ.)
- What are the setbacks — the minimum distance from property lines, fences, the house, and easements?
- Are there height limits, or rules about electricity and foundations?
If you live in an HOA community, read the covenants too: some require approval of size, color, or roofing. Get approvals in writing before building — moving a finished shed is a miserable weekend.
4. Pick the site (and call 811 before digging)
A good site is level-ish, drains well, and is easy to reach with a wheelbarrow. Avoid low spots where water collects after rain, and avoid placing the shed right under trees that drop branches or sap. Watch the spot during a heavy rain if you can.
Think about access, too: which way should the door face for the shortest path to the garden or driveway? Leave at least a couple of feet around the shed for maintenance, painting, and air flow.
Before you dig anything — even shallow post holes — call 811 (the US "Call Before You Dig" number) a few days ahead. Utility companies mark buried lines for free, and hitting a gas or electric line is dangerous and expensive.
5. Choose a foundation
The foundation keeps the floor flat and dry, which is what makes a shed last. The three most common DIY options:
- Gravel pad with treated skids: a level bed of compacted crushed stone (often around 4" deep) inside a treated-timber border, with the shed floor frame sitting on pressure-treated skids. Drains extremely well and is very beginner-friendly for small and mid-size sheds.
- Concrete deck blocks or pier blocks: fast and cheap on fairly level ground; leveling each block carefully is the key step.
- Concrete slab: the most permanent, great for heavy equipment or a workshop, but more work and cost — and more likely to need a permit.
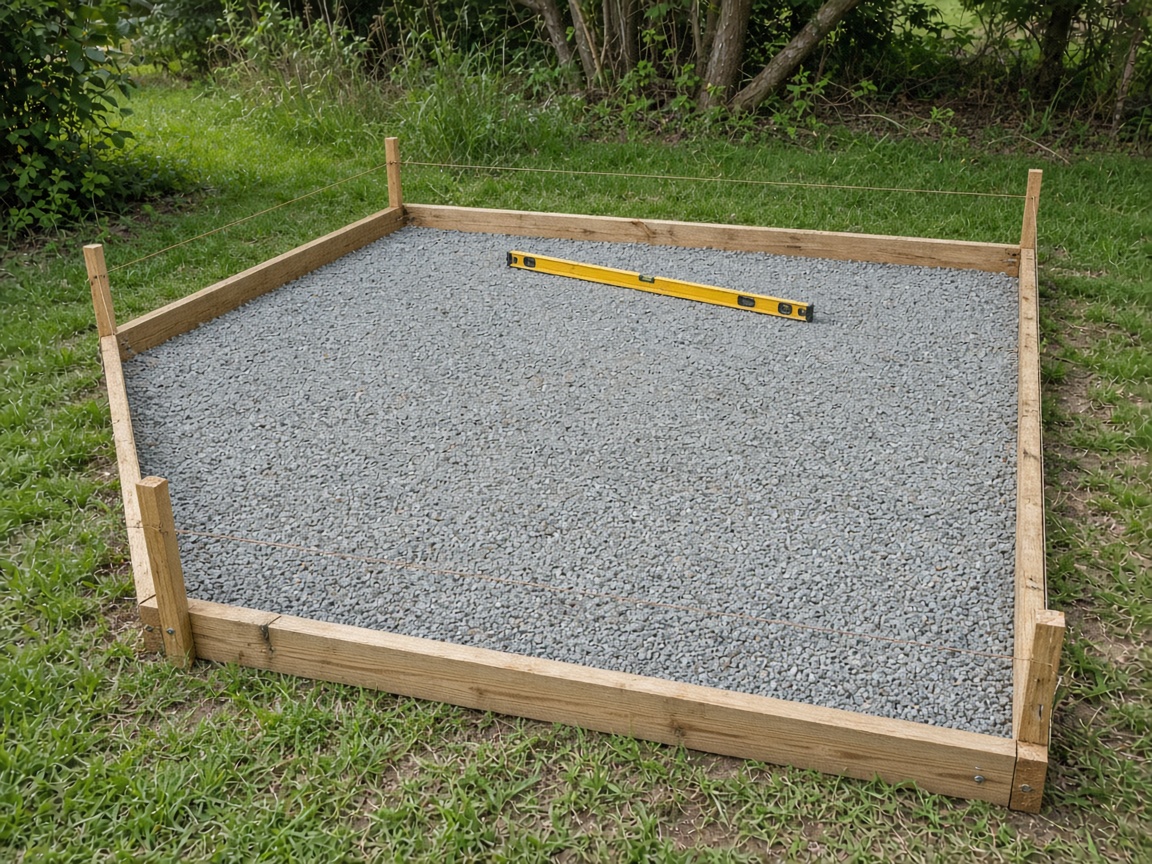
Whatever you choose, make sure it is level and square: measure both diagonals of the rectangle — when they match, the corners are square.
6. Pick a roof style
- Gable: the classic peaked roof. Sheds water and snow well, gives headroom and loft space, and is the easiest "real" roof to frame.
- Lean-to (single slope): the simplest to build and very modern-looking. Ideal against a fence or wall; make sure the low side drains away from neighbors.
- Gambrel (barn style): the most storage space overhead, but more cuts and angles — better as a second project.
Overhangs of a few inches on all sides protect the walls and door from rain. Roofing options range from asphalt shingles (to match the house) to metal panels (fast to install and long-lasting).
7. Plan doors, windows and ventilation
Measure the widest thing you will roll inside — usually the mower — and add a comfortable margin. Double doors (often 4–5 feet wide total) make a huge difference in daily use. A short ramp is worth planning from the start if anything has wheels.
One window turns a dark box into a usable space; place it where a workbench or potting bench could sit underneath. Small vents high on the gable ends (or a ridge vent) help reduce condensation, which protects tools from rust and keeps stored items from smelling musty.
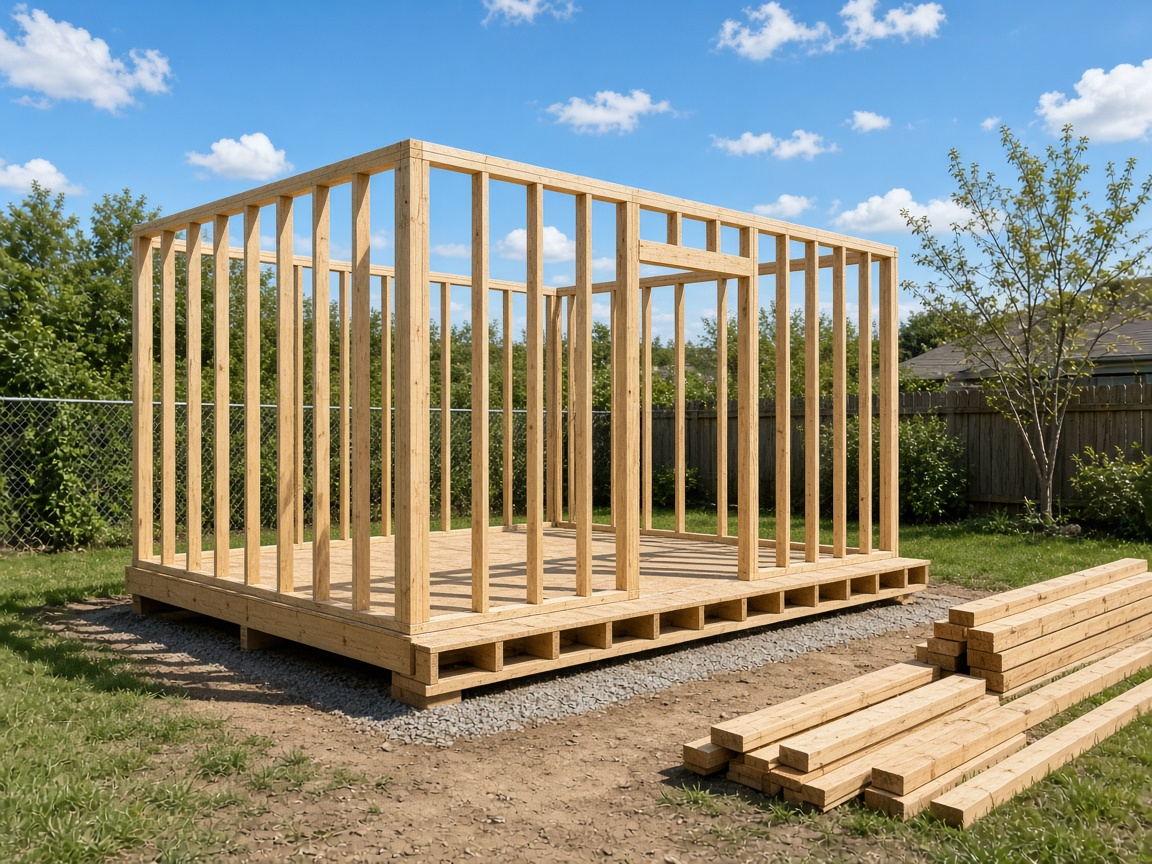
8. Choose materials and set a realistic budget
For a typical stick-built shed, your shopping list falls into a few groups. Price each group at a local store before committing:
- Foundation: gravel or blocks, treated skids or floor joists
- Floor: treated joists plus exterior-grade plywood or OSB flooring
- Walls: 2x4 studs, plates, headers, and siding (T1-11 panels, lap siding, or board-and-batten)
- Roof: rafters, sheathing, underlayment, drip edge, shingles or metal panels
- Doors, trim and hardware: hinges, latch, screws, nails, flashing
- Finish: primer and exterior paint or stain
Add about 10–15% for mistakes, extra screws, and the inevitable second trip to the store. Lumber prices change frequently, so a quote from this week is more useful than any number in an article.
9. Decide: build from plans, buy a kit, or hire out
Kits are convenient but limit size and style, and quality varies. Hiring a builder is fastest but usually the most expensive. Building from detailed plans gives you the most control over size, materials and looks — and a good plan saves money by giving you an accurate materials list up front, so you buy once.
What makes a shed plan "good"? Look for: a full materials and cut list, framing diagrams for floor, walls and roof, clear door and window rough-opening sizes, and drawings for the exact size you want — not a generic picture.
If you would rather start from a ready-made design than draw your own, a plan library can save hours. Below is one option many DIYers look at.
See the My Shed Plans library → (affiliate link)
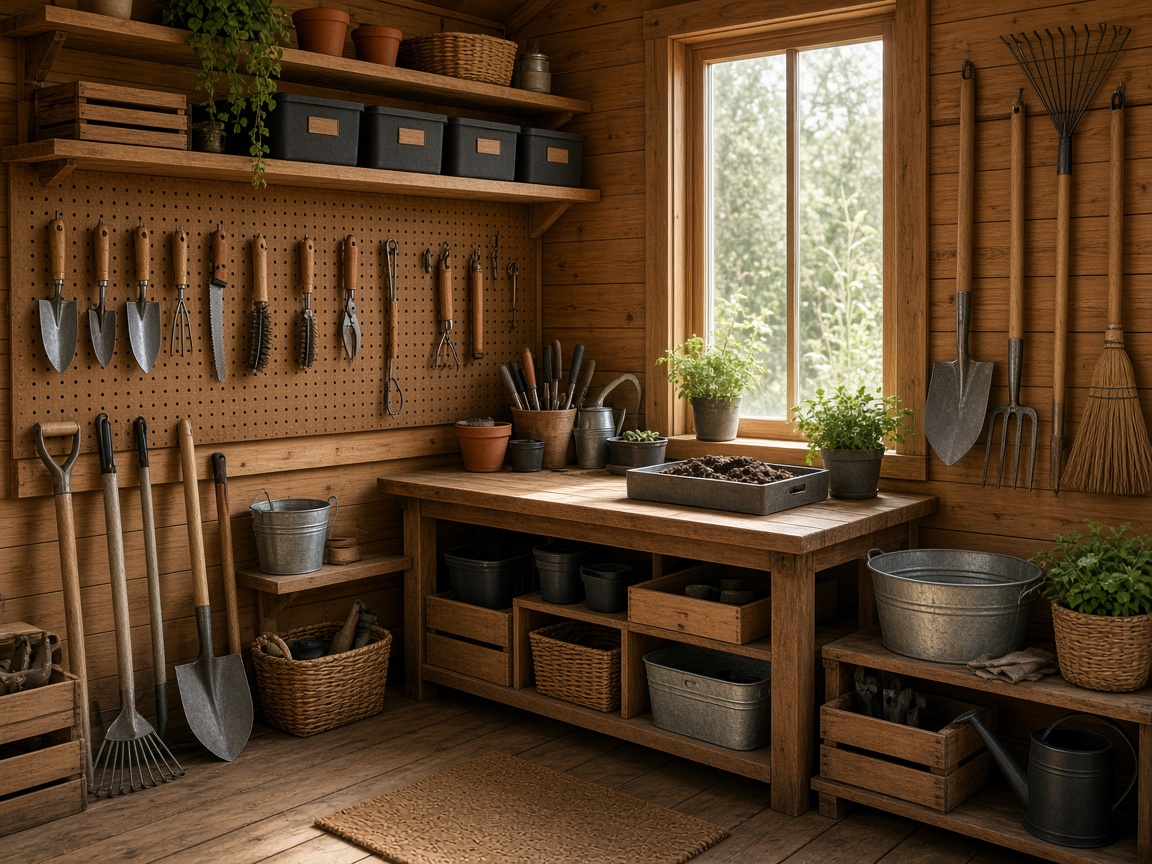
Quick planning checklist
- List of everything that will go inside ✔
- Footprint staked out on the lawn and tested ✔
- Permit, setback and HOA answers in writing ✔
- 811 called, utility lines marked ✔
- Foundation type chosen; site level and draining ✔
- Roof style, door width and window position decided ✔
- Materials priced locally, plus 10–15% extra ✔
- Plans or kit chosen, tools and helpers lined up ✔
Do these in order and the actual building becomes the fun part. And always work safely: wear eye protection, use a helper for raising walls and roof work, and use a sturdy ladder on level ground.
Want detailed shed plans instead of designing from scratch?
My Shed Plans (myshedplans.com, sold through ClickBank) is a digital library of shed designs aimed at DIY builders.
According to the vendor, it includes around 12,000 shed plans and designs, and its order page advertises a 60-day money-back guarantee. Those are the vendor's claims; we have not independently tested every plan, and no plan replaces local permits or careful building.
Pros
- Many sizes and roof styles to browse
- Useful if you want a materials list before you shop
- 60-day refund window as advertised by the seller
Caveats
- Plan quality and detail can vary across a large library
- Order pages may include upsells — you can decline them
- You still need to check local codes and permit rules
Affiliate link — I may earn a commission at no extra cost to you.
Disclosure & Privacy
This page contains affiliate links. If you buy through them I may earn a commission at no extra cost to you. Descriptions of My Shed Plans repeat claims published on the vendor's own website. SeeDIY (@peretzdigital) is an independent publisher and is not affiliated with the vendor beyond the ClickBank affiliate program. Full details: Affiliate Disclosure, Privacy Policy, Cookie Policy, Terms of Use.
We do not sell your personal information. Hosting, DNS, and security run through Cloudflare Pages and Cloudflare. Questions: peretzdigital@gmail.com