Contains affiliate links
Weekend Woodshop Plans
5 Beginner Wood Projects You Can Finish This Weekend
You do not need a full shop or years of experience to make something useful out of wood.
Below are five beginner-friendly projects you can realistically finish in a weekend
(or two short evenings). Each one lists skill level, rough time, tools, materials, and a few key tips.
These are original starter guides for this page, not copied plans from any paid package.
Dimensions are approximate — adjust to the lumber you have on hand.
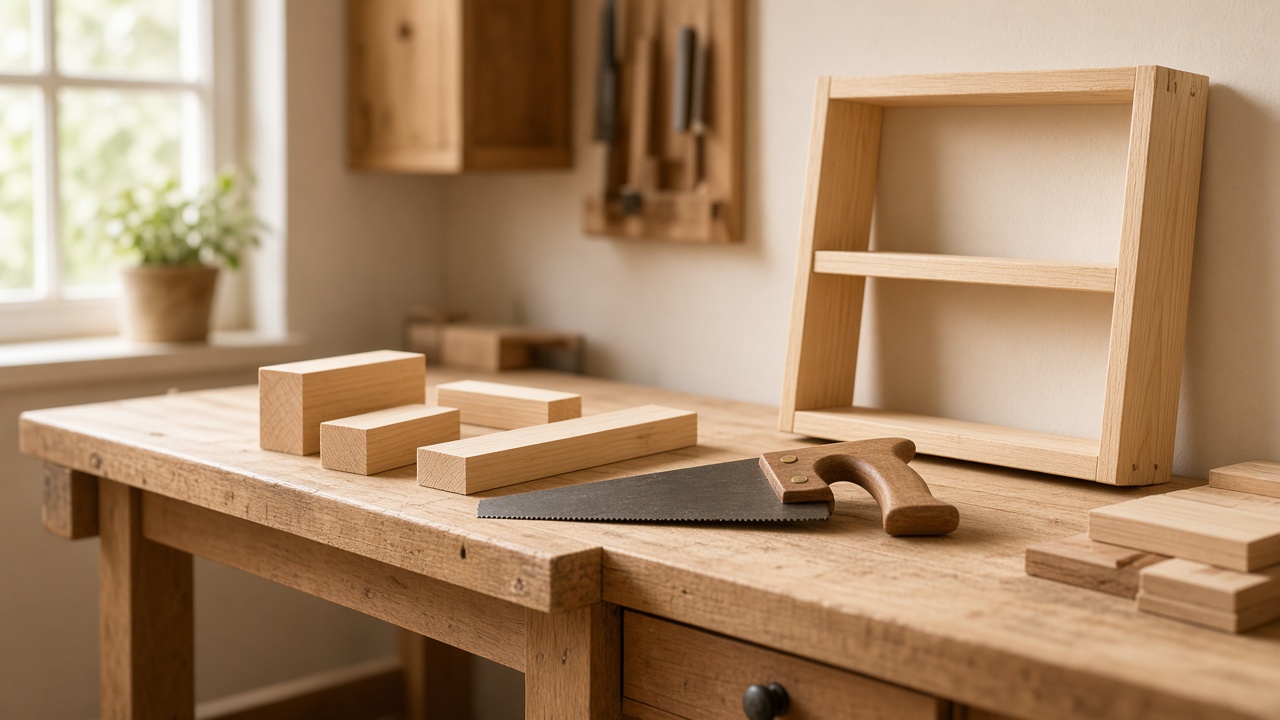
Project 1
Simple wall shelf (one board)
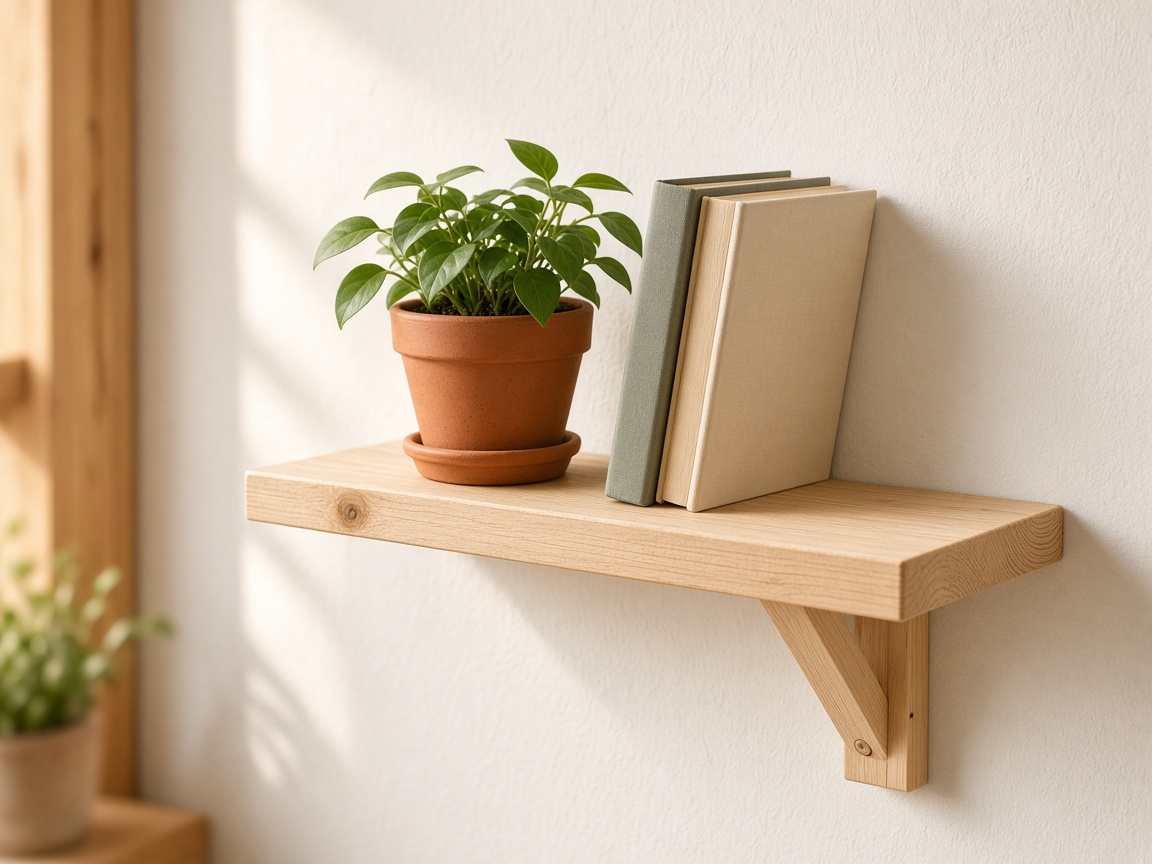
What it is: A clean floating-style wall shelf for books, plants, or keys. One board, two brackets (or a French cleat if you prefer).
Skill: Absolute beginner
Time: 2–4 hours (+ finish dry time)
Tools
- Tape measure, pencil, square
- Handsaw or circular saw
- Drill/driver
- Sandpaper (80 → 120 → 220)
- Level and stud finder
Materials
- 1× pine or poplar board, ~24–36 in (e.g. 1×6 or 1×8)
- 2 metal shelf brackets (or scrap for a cleat)
- Wood screws + wall anchors rated for the weight
- Optional wood glue; oil, stain, or paint
Key steps / tips
- Square the ends, then sand until edges feel soft — beginners lose more time on rough edges than on cuts.
- Pre-drill bracket holes so the wood does not split.
- Find studs when you can; if you use drywall anchors, pick ones rated above the expected load.
- Finish the shelf off the wall so drips do not hit paint or plaster.
Project 2
Classic cutting board
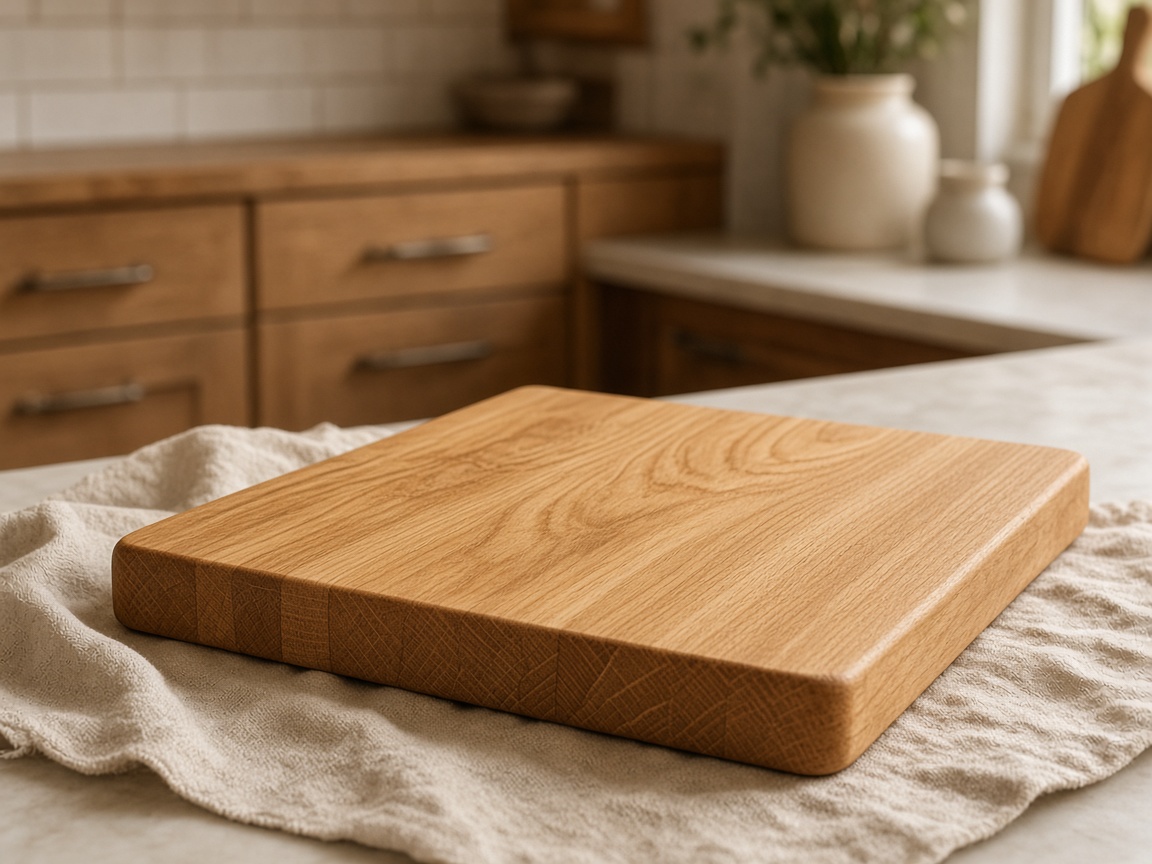
What it is: A solid-wood prep board for the kitchen. Start with a single slab; edge-glue strips later when you are ready.
Skill: Beginner
Time: 3–5 hours
Tools
- Saw, square, clamps
- Plane or belt/orbital sander
- Router with round-over bit (optional)
- Food-safe finish cloth or brush
Materials
- Hardwood: maple, walnut, or beech (avoid soft pine for cutting surfaces)
- Food-safe finish (mineral oil + beeswax, or labeled cutting-board oil)
- Optional juice groove or rubber feet
Key steps / tips
- Flatten both faces before rounding edges — a wobbly board is hard to fix later.
- Sand progressively; stop at 220 so the surface still holds oil.
- If you add a juice groove, practice on scrap first.
- Oil, wait, wipe; repeat a few times. Re-oil when the board looks dry.
Project 3
Simple birdhouse
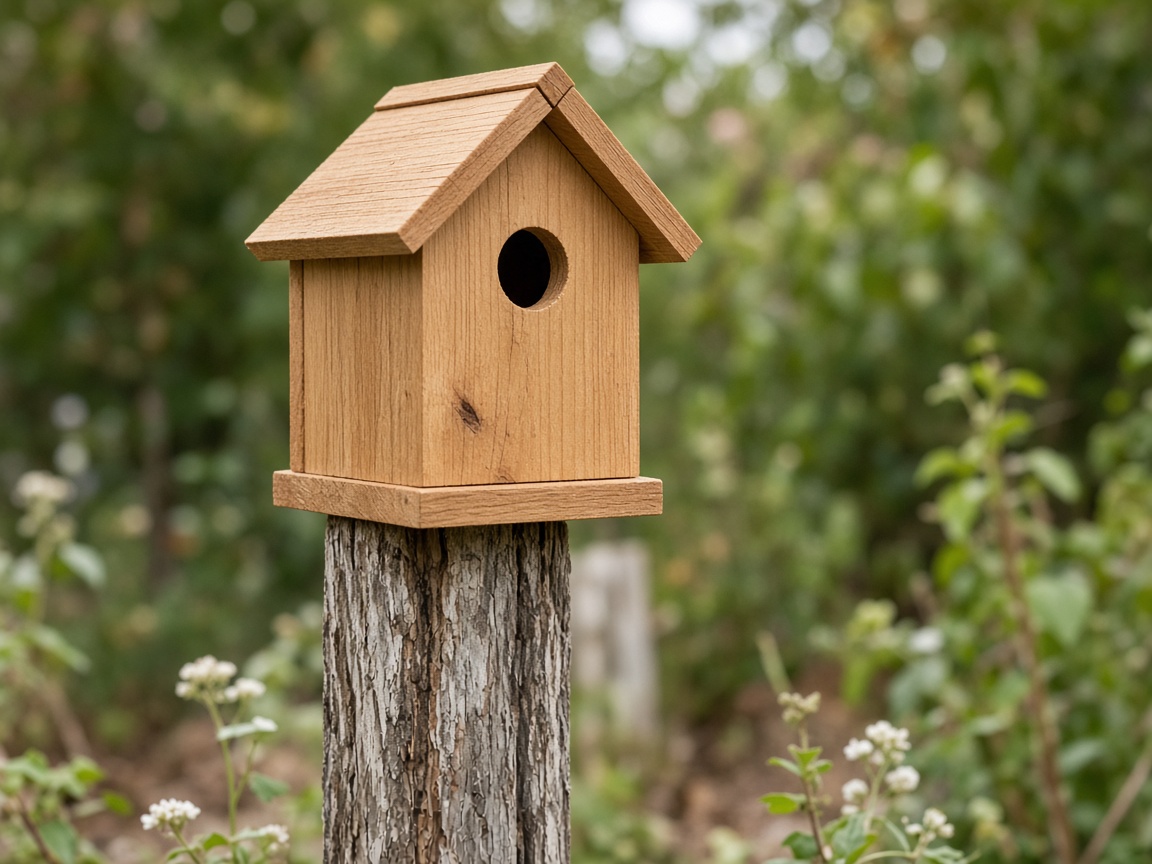
What it is: A small outdoor house with a hinged or screwed roof for cleaning. A solid first outdoor project.
Skill: Beginner
Time: 3–6 hours
Tools
- Saw, drill, hole saw (entrance)
- Hammer or driver, sandpaper
- Exterior wood glue
Materials
- Untreated cedar or pine scraps (~¾ in thick)
- Exterior screws or nails
- Optional exterior paint or oil
Key steps / tips
- Match entrance hole size to the bird you hope to attract (many songbirds need roughly 1¼–1½ in — check a local wildlife guide).
- Skip a perch; it helps predators more than birds.
- Overhang the roof so rain sheds away from the entrance.
- Mount so you can open and clean the box once a season.
Project 4
Small plant stand / side stool
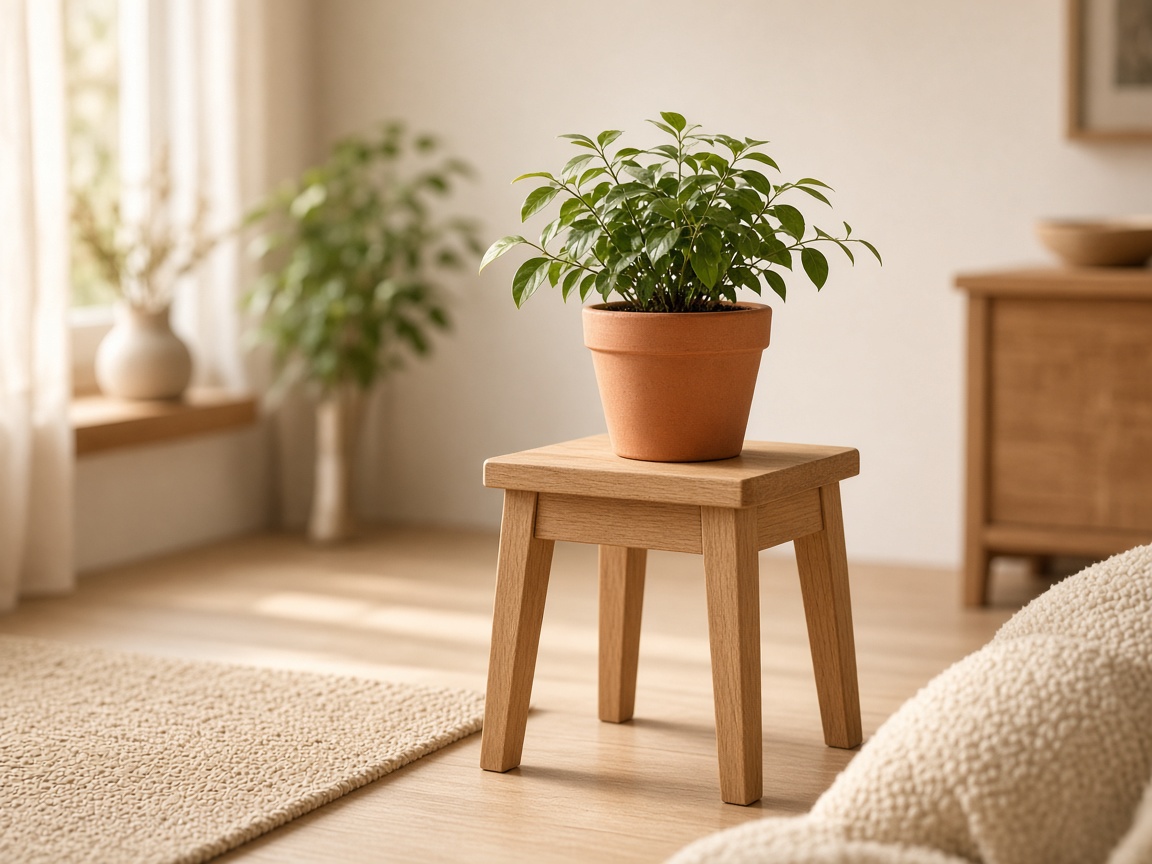
What it is: A sturdy low stand (~16–18 in tall) for a plant or as a temporary seat. Four legs, simple apron.
Skill: Beginner–early intermediate
Time: About one weekend day
Tools
- Saw, square, clamps
- Drill; pocket-hole jig or dowels (pick one method)
- Sander
Materials
- 2×2 or 2×3 legs (4)
- 1×3 or 1×4 apron pieces
- Plywood or solid top (~12×12 to 14×14 in)
- Screws, glue, finish
Key steps / tips
- Cut all four legs the same length first; uneven legs show immediately.
- Dry-fit the apron before glue. A square assembly now saves hours later.
- Soften the top edges so the stand is pleasant to move.
- Level on the floor before the finish cures; shim if needed.
Project 5
Open storage crate
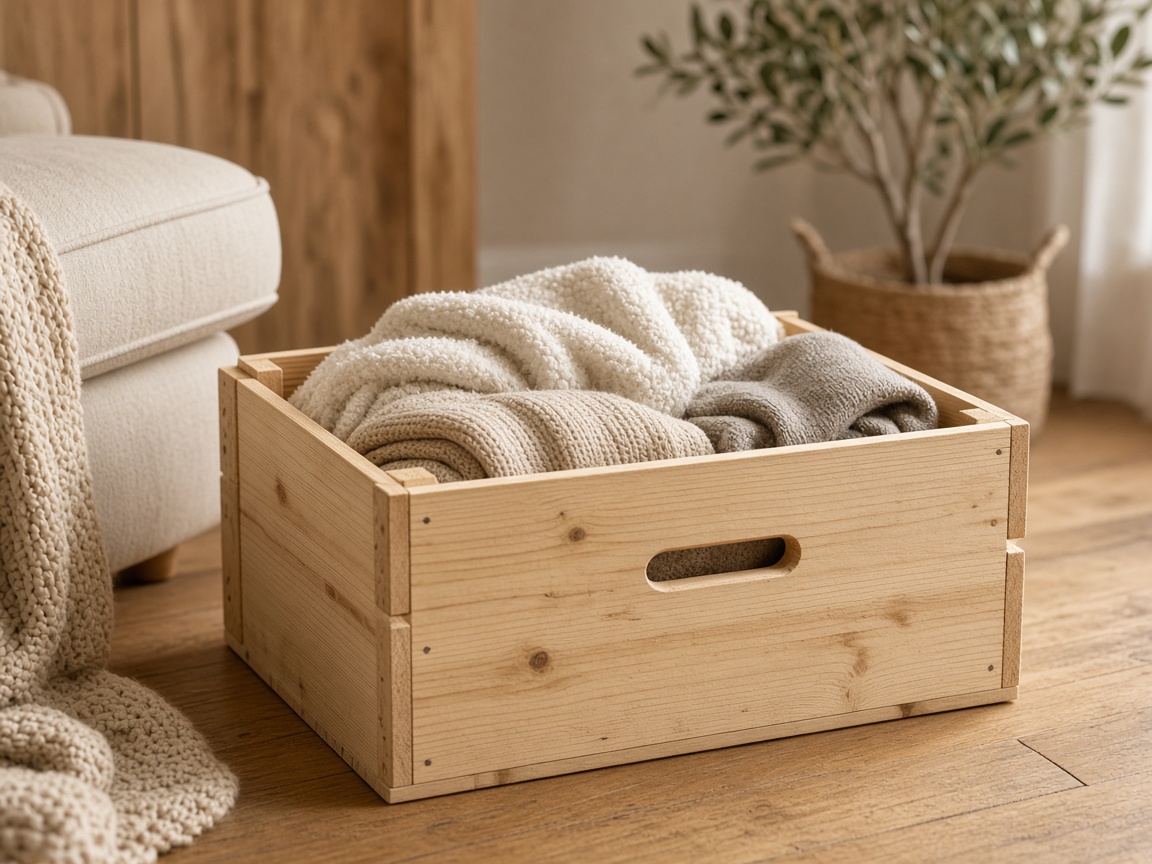
What it is: A handle-cut crate for blankets, toys, or shop scraps. Stackable if you keep dimensions consistent.
Skill: Absolute beginner
Time: 2–4 hours
Tools
- Saw, drill, jigsaw (handles)
- Square, sandpaper, clamps
Materials
- Pine boards or plywood for bottom and sides
- Wood screws + glue
- Optional corner braces
Key steps / tips
- Build the bottom and two long sides first; then fit the short ends.
- Cut handle openings before final assembly so you can sand inside the cutout.
- Countersink screws and fill if you want a cleaner look.
- Clear oil keeps a shop look; paint hides mixed scrap wood.
Want step-by-step plans for more projects?
If you enjoy these starters and want a larger library of measured drawings,
Ted's Woodworking
(tedswoodworking.com)
markets itself as a big digital archive of woodworking plans.
According to the vendor, the package includes access to over
16,000 plans with step-by-step details and materials lists,
plus ongoing monthly plans and video lessons. On its order pages the vendor also
advertises a 60-day money-back guarantee. Those are the vendor's claims —
not independent tests, and not a promise that every plan will match your skill level or tools.
Pros
- Large catalog if you like browsing many project types
- Vendor says plans include cutting/materials lists and schematics
- 60-day refund window as advertised by the seller (via ClickBank if you buy)
Caveats
- Quality can vary across any large archive — use the refund window if needed
- Sales funnels often show upsells; you can decline them
- Plans do not replace tools, lumber, practice, or shop safety
- We cannot promise member-area UX or download experience
Browse Ted's Woodworking plans
Affiliate link — I may earn a commission.
Disclosure & Privacy
This page contains affiliate links. If you buy through them I may earn a commission at no extra cost to you.
Descriptions of Ted's Woodworking repeat claims published on the vendor's own website.
Weekend Woodshop Plans (@peretzdigital) is an independent Pinterest publisher.
Full details:
Affiliate Disclosure,
Privacy Policy,
Cookie Policy,
Terms of Use.
We do not sell your personal information. Hosting, DNS, and security run through Cloudflare Pages and Cloudflare.
Questions: peretzdigital@gmail.com